SAP Business Objects BI 4.0 SP2 Server Installation process involved many stages and here I have explained all the stages.

Run the setup.exe from Business objects 4 server Folder for 64 Bit.


Click OK.

Above screen verifies your system whether you have enough configuration to install SAP BO BI 4.0 server. If all the critical requirements are succeeded then only you will be prompted to click “Next”.

Server installation welcome screen and legal information about the server.

Click “I accept the License Agreement” after you read the statements completely and click “Next”.

Provide your Full name (mostly your Project / Company name), Organization Name and Product Key.
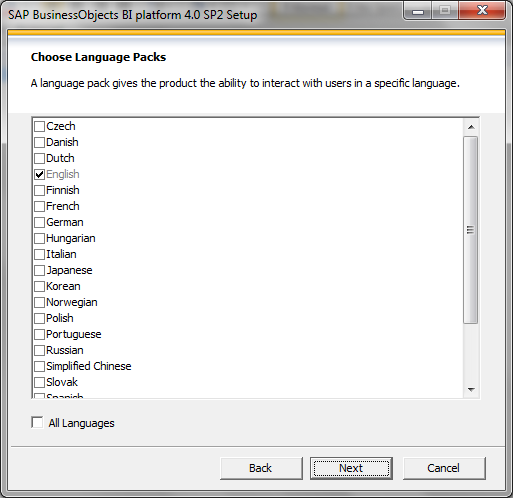
Select the languages whatever you needed for your project (if need all the languages select “All Languages”).

Select “Full Install ” until unless you want to install selected server based application.
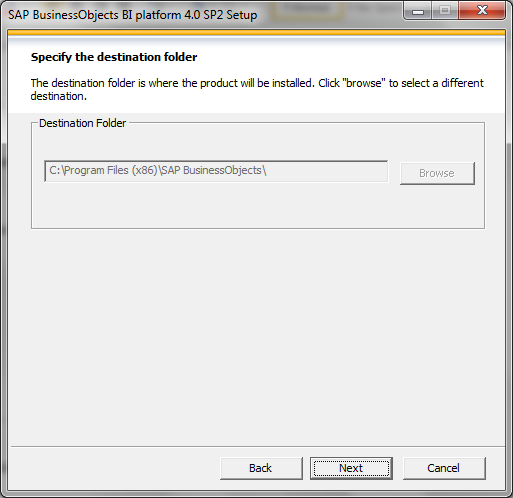
Choose your installation location in your windows machine and by default location would be shown in above screen.

If you want to use default database for your repository (MS SQL Server), then select “Install and use default database” else if you want install in your server repository in a specific DB then select “use an existing database” and same scenario is for audit database.
If you dont want to configure Audit DB during server installation and want to configure later then select “No Audit Database“.

Install Tomcat web server which is the best weapp server for BI server and recommended.

If you want to install and configure LCM, click Install and use subversion else select existing version control system.


Enter your Node Name (by default it will take your full name / company name which you have provided in the initial screen) and port will defined by default.

By default CMS port would be 6400.

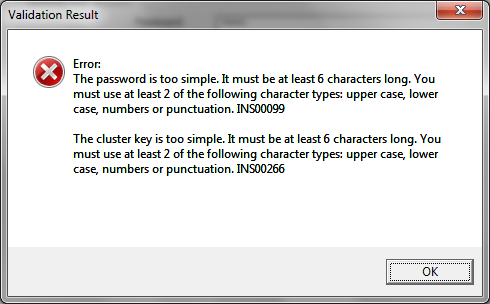
Provide your admin password and CMS cluster Password. You have to follow certain password criteria util it will not allow you to proceed further (below screen explain the same).

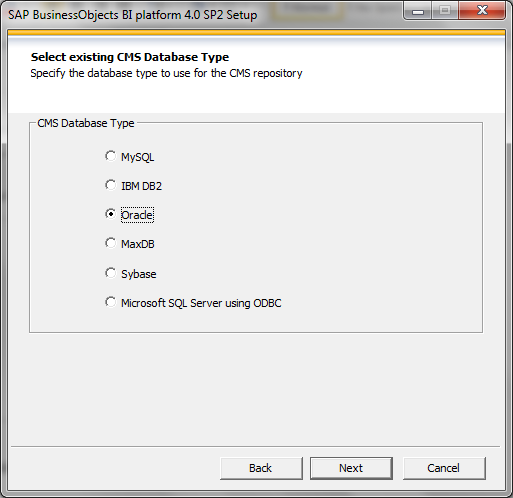
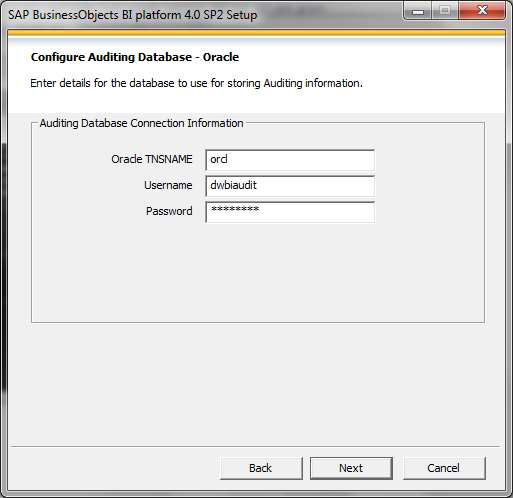
Since I have select ORACLE as my BO server repository, its asking Oracle TNSNAME, DB username and Password. Please select “Reset existing database”, if at all if you have any exiting BO server on same DB (old one). Also provide Audit DB credentials.
Configure the Tomcat web server and by default all the ports are defined.

LCM configuration and you need to provide the password and port will be assigned default.

Configure SMD (Solution Manager Diagnostics).


SMD agent host by default will be “localhost”.
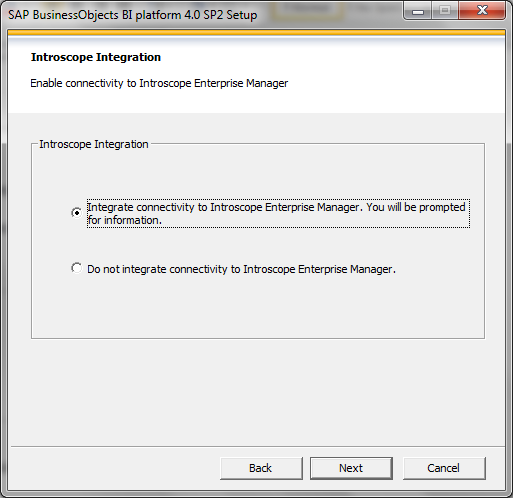
Configure enterprise Manger and host will be by default “localhost”.

Click “Next” and this will be your last step before the installation starts.
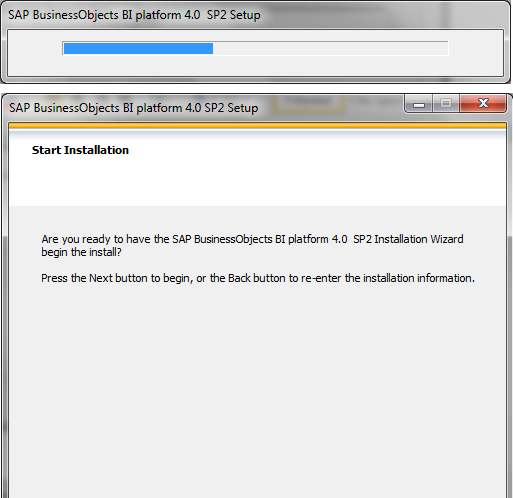
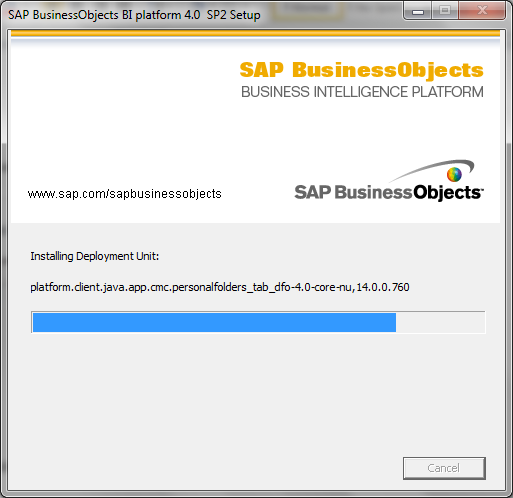
BI 4.0 server installation in progress and it would take more than 4 hours to complete.

Post installation steps and process would be shown in the above and click “Next”.

Click “Finish”. You are done with your BI 4.0 SP2 server installation.
Go to Start –> Programs –> SAP BO BI platform 4.0 –> CCM (Central Configuration Manager)

CCM will open and you see Tomcat and SIA servers are running and reaming servers are in stopped state. If you want any of the process to be started then select that particular server and click Start.

Login to CMC using below URL. By default, in your server machine this will be the CMC url.
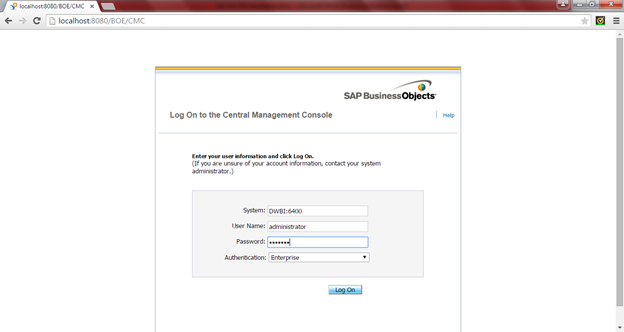
Enter Admin credentials and select enterprise as Authentication and Logon.

Your CMC opens with all the options and you can start you server configuration, user, folder, groups and etc., creation and setup.
Enjoy your BI 4.0 server installation and post your comments.
